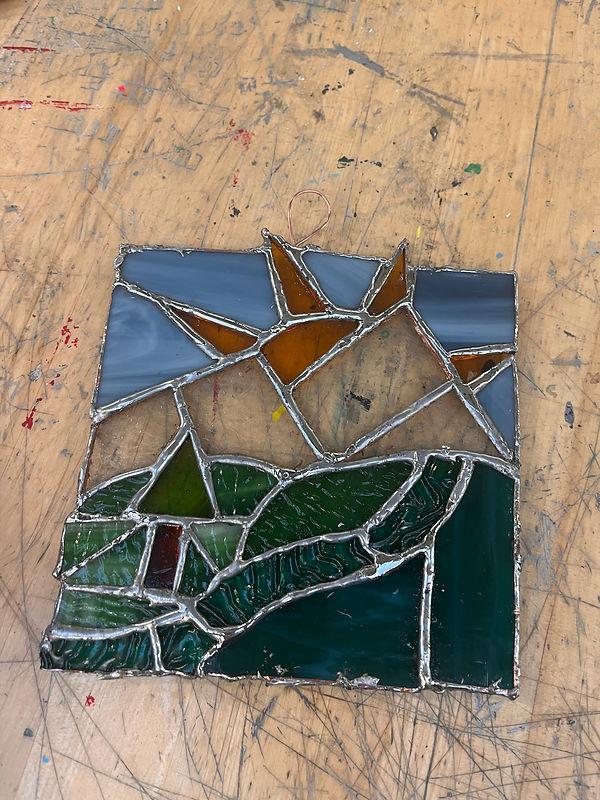
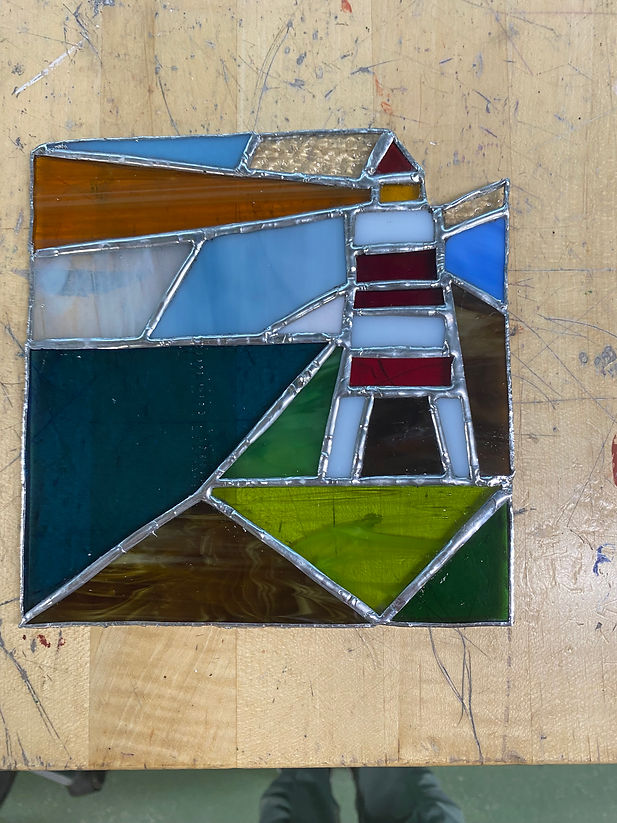
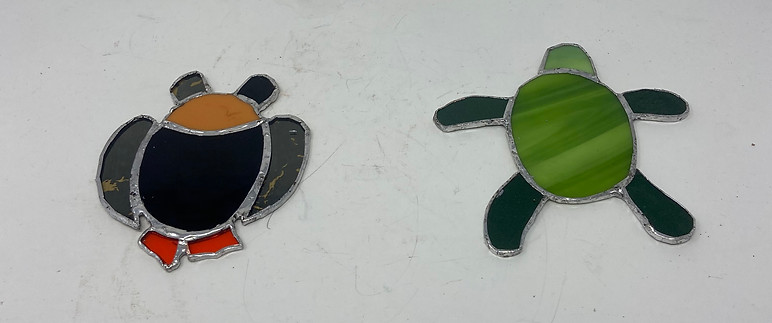
Stained Glass: Panels
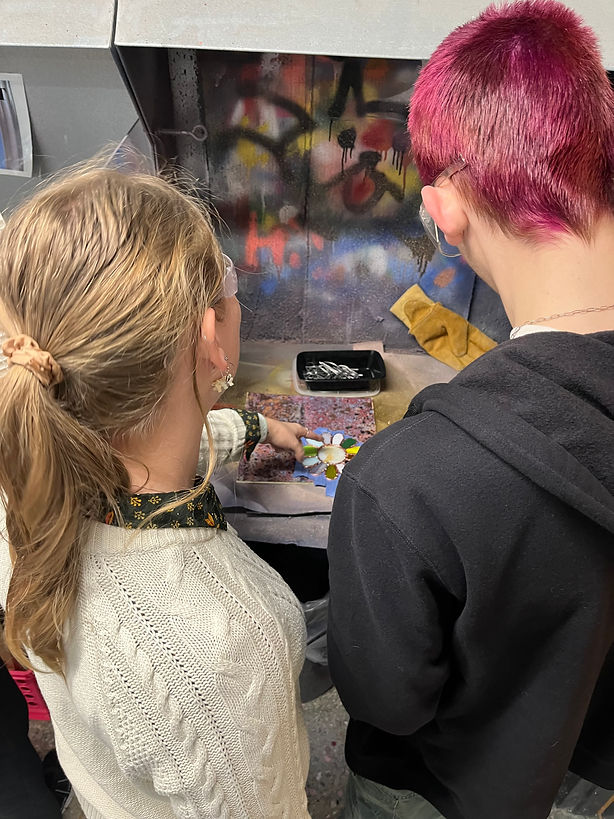
Throughout my Student Teaching at Kettle Moraine High School, I was able to teach Sculpture, Life Drawing, and AP. Sculpture was a class I could really put fourth my stained Glass skills, and teach my students the art and beauty of this medium.


EYE PROTECTION IS NOT OPTIONAL!!! IF YOU ARE TO WORK WITH STAINED GLASS YOU NEED TO WEAR SAFETY GLASSES THE WHOLE TIME YOU ARE IN THE CLASSROOM.
Requirements
Design a 6inx6in panel, or something that fits into it
Cohesive, interesting design
Directions
-
Sketch out your design on paper (Get this OK’d by teachers)
-
MAKE TWO DRAWINGS!
One will be cut out for tracing onto glass, the other is to fit your pieces to!
“original” drawing
Use a light table to help trace
-
-
Pick your glass out! (Colors and textures you like that will best fit with your design
-
Cut out your paper design, and trace each piece onto glass with sharpie
-
Score glass shape(s) with glass cutter
-
You will know you are pressing hard enough when you hear a “zipping” sound
-
Directions CONT.
-
Use running pliers to break apart your scored STRAIGHT line
-
You can also use your glass cutter to help break curved lines, as well as grozing pliers
-
If you need to remove more jagged pieces left on your glass, you can use grozing pliers or the glass nipper
-
-
-
Your next step is to grind excess glass to your drawn black line, as well as smooth out edges
-
Make sure your pieces fit flush with each other, if they do not you will have to continue to grind
-
-
After all pieces are fitted, you will be foiling all of your edges
-
To make sure that foil adheres to glass, use your fid to help
-
Foil needs to be even on both sides of glass, or soldering will not work
-
Please watch this video linked, you will have to scroll down to find it- it will be the first one you come across
-
-
-
Tape one side together, to hold all the glass in place, and flip over carefully.
Directions CONT.
-
Soldering has many steps
-
Flux needs to be placed on each seam you are going to “tack”
-
Tacking- joining glass together with small blob of solder
-
-
-
You will then add more flux to all seams and then start tinning
-
Tinning- putting a thin layer of solder across all seams
-
-
Once you finish tinning, you will apply more flux to the same seams, but this time, add a larger amount of solder to seams to make it a half-round shape.
-
Flip piece over and continue soldering steps on other side
-
Do not solder to the edges fully- take a look at this video, that is going to show you how to finish soldering all edges on your piece
-
*PLEASE KEEP IN MIND THE TIP OF THE SOLDERING IRON IS -HOT-!!! It is natural to want more precision and grab closer to the tip, please do not. It will hurt.*
-
-